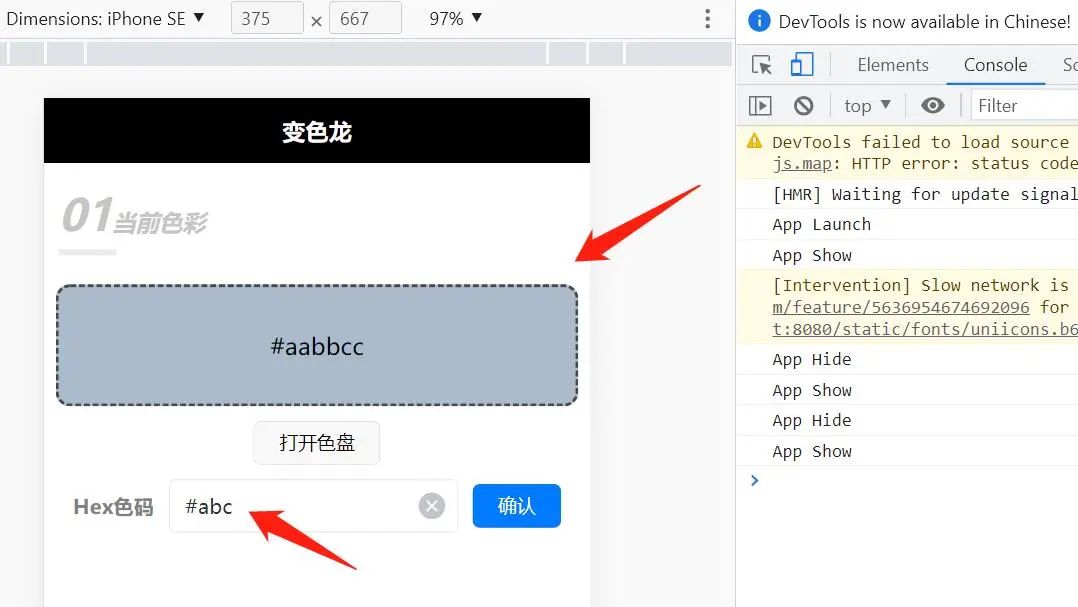
通过上一章的开发,用户通过调色盘可以选取颜色并展现到画布上了。
但调色盘还是有点不方便的,不能精确取值不说,也没能很好的将 RGB 和 HEX 色码的转换呈现给用户。
本章让我们来设计 RGB 和 HEX 的输入控件,并将所有这些数据同步起来。
随着章节的发展,代码量也逐渐提升了。如果有点搞不清文章中到底修改了哪些部分,请结合Github示例代码[1]对比。
HEX 输入控件
继续修改 index.vue 。代码量比较大,还是拆开讲解。
首先是模板:
<!-- pages/index/index.vue -->

<template>
  <view class="padding-10">

    ...

    <view class="form padding-10">
      <text class="padding-r-10 input-title">Hex色码</text>
      <uni-easyinput v-model="hexValue" placeholder="#ffc107" class="padding-r-10"></uni-easyinput>
      <button @click="submit" size="mini" type="primary">确认</button>
    </view>
  </view>
</template>
模板新增内容比较简单,核心部分就多了两个控件:
-
<uni-easyinput>输入框控件。用户输入的数据绑定到hexValue状态上。 -
<button>按钮控件。处理用户输入完毕后的提交事件。
<uni-easyinput>来自于前面安装的uni-ui, 它依赖 sass 插件,HBuilder 可能会自动下载。按照提示信息一路确认就ok了。
接下来,脚本部分的代码:
// pages/index/index.vue

...

<script>
  export default {
    data() {
      return {
        ...
        hexValue: ""
      };
    },
    // 页面启动时的生命周期函数
    mounted() {
      this.hexValue = "#" + this.rgbToHex(this.canvasColor)
    },
    methods: {
      // 提交hex码
      hexSubmit() {
        // 预处理
        let hexStr = this.hexValue.trim().replace("#", "").toLowerCase()
        // 将3位hex转化为6位hex
        if (hexStr.length === 3) {
          hexStr = hexStr.split("").reduce((total, current) => total + current.repeat(2), "")
        }
        // 验证hex长度是否合法
        if (hexStr.length !== 6) {
          return uni.showToast({
            title: "Hex色码必须为3位或6位",
            icon: "none",
          });
        }
        // 验证hex内容是否合法
        const alphabet = "0123456789abcdef"
        for (let elem of hexStr) {
          if (!alphabet.includes(elem)) {
            return uni.showToast({
              title: "请输入正确的Hex色码",
              icon: "none",
            });
          }
        }
        const rgb = this.hexToRgb(hexStr)
        // 更新canvas颜色
        this.canvasColor = rgb
        // 更新色盘颜色
        this.$refs.colorPicker.rgba = rgb
      },
      // 将 hex 转换为 rgb
      hexToRgb(hex) {
        // 将hex切割为rgb数组
        const hexArr = hex.match(/[\s\S]{1,2}/g) || []
        // 转换为10进制数组
        const rgbArr = hexArr.map(hex => parseInt(hex, 16))
        return {
          r: rgbArr[0],
          g: rgbArr[1],
          b: rgbArr[2],
          a: 1
        }
      },
      // 修改已有的方法
      // 色盘点击确定
      confirmPicker(e) {
        this.canvasColor = e.rgba
        // 增加此行
        // 更新hex输入框的数据
        this.hexValue = e.hex
      },

      ...
    },
  };
</script>

...
除了前面提到的 hexValue 外,最主要的改动如下:
-
mounted()生命周期函数,它在页面加载时自动执行,根据初始的 RGB 值将hexValue初始化。 -
hexSubmit()方法,绑定了提交按钮事件,核心功能是将用户输入的 Hex 转化为 RGB;用户输入如果非法,则弹窗提醒,如果合法,则将此 RGB 更新到画布和调色盘。 -
hexToRgb()辅助方法,可将 Hex 转化为 RGB。 -
在已有方法 confirmPicker()增加了一行代码,将调色盘选定的颜色更新到hexValue。
脚本写完了,最后就是样式了:
/* pages/index/index.vue */

<style scoped>
  .form {
    display: flex;
    flex-direction: row;
    align-items: center;
  }

  .padding-r-10 {
    padding-right: 10px;
  }

  .input-title {
    font-size: 14px;
    color: gray;
    font-weight: 700;
  }

  ...
</style>
保存文件,回到模拟器测试下:
-
提交Hex色码输入框中的数据,其对应的颜色会更新到画布和调色盘中。 -
打开调色盘选取数据后,其对应的颜色也会更新到画布和Hex色码输入框。
神奇吧。
RGB 输入控件
Hex 输入控件有了,接下来搞 RGB 控件。
由于 RGB 有三个通道,且范围跨度很大(0~255),对于移动端而言,滑动条是非常适合的。
模板代码修改如下:
<!-- pages/index/index.vue -->

<template>
  <!-- 新增了view容器,将已有元素包裹起来 -->
  <view>
    <!-- 已有代码 -->
    <view class="padding-10">
      <sectionTitle num="01" title="当前色彩"></sectionTitle>
      ...
    </view>

    <!-- 新增代码,rgb色码输入框 -->
    <uni-card :is-shadow="false">
      <template v-slot:title>
        <view class="card-title input-title">RGB色码</view>
      </template>
      <uni-row class="form">
        <uni-col :span="2">
          <text class="">R</text>
        </uni-col>
        <uni-col :span="22">
          <slider :value="canvasColor.r" min="0" max="255" data-type="r" @changing="sliderChanging"
            activeColor="#ff8183" backgroundColor="#ffb5b6" block-color="#e92528" block-size="20" :show-value="true" />
        </uni-col>
      </uni-row>

      <uni-row class="form">
        <uni-col :span="2">
          <text class="">G</text>
        </uni-col>
        <uni-col :span="22">
          <slider :value="canvasColor.g" min="0" max="255" data-type="g" @changing="sliderChanging"
            activeColor="#55d54e" backgroundColor="#a6f4a5" block-color="#3b8b1e" block-size="20" :show-value="true" />
        </uni-col>
      </uni-row>

      <uni-row class="form">
        <uni-col :span="2">
          <text class="">B</text>
        </uni-col>
        <uni-col :span="22">
          <slider :value="canvasColor.b" min="0" max="255" data-type="b" @changing="sliderChanging"
            activeColor="#8a96ff" backgroundColor="#7980ff" block-color="#3651e8" block-size="20" :show-value="true" />
        </uni-col>
      </uni-row>
    </uni-card>

  </view>
</template>
代码看似很多,实际上很多地方都是重复的。
重复代码意味着它很适合封装为自定义组件。
你可以尝试以每个
<uni-row>为单位进行封装。
需要注意的代码:
-
:value将每个通道都分别绑定到canvasColor的对应键。 -
以 data-开头的是一种特殊的属性,它将自身的值以变量的形式传递到绑定事件的函数之中,比如这里的data-type。(马上你就会看到其作用) -
@changing将滑动事件绑定到sliderChanging()方法。
接下来改脚本:
// pages/index/index.vue

...
methods: {
  // 增加slider滑动监听方法
  sliderChanging(e) {
    // e.target.dataset.type 对应模板中 data-type 的值
    this.canvasColor[e.target.dataset.type] = e.detail.value
    this.hexValue = "#" + this.rgbToHex(this.canvasColor)
},
...
增加的代码不多,但是很巧妙的通过模板中的 data-type 将各通道区分开了。
最后是样式:
// pages/index/index.vue

...
.card-title {
  padding-top: 5px;
}
...
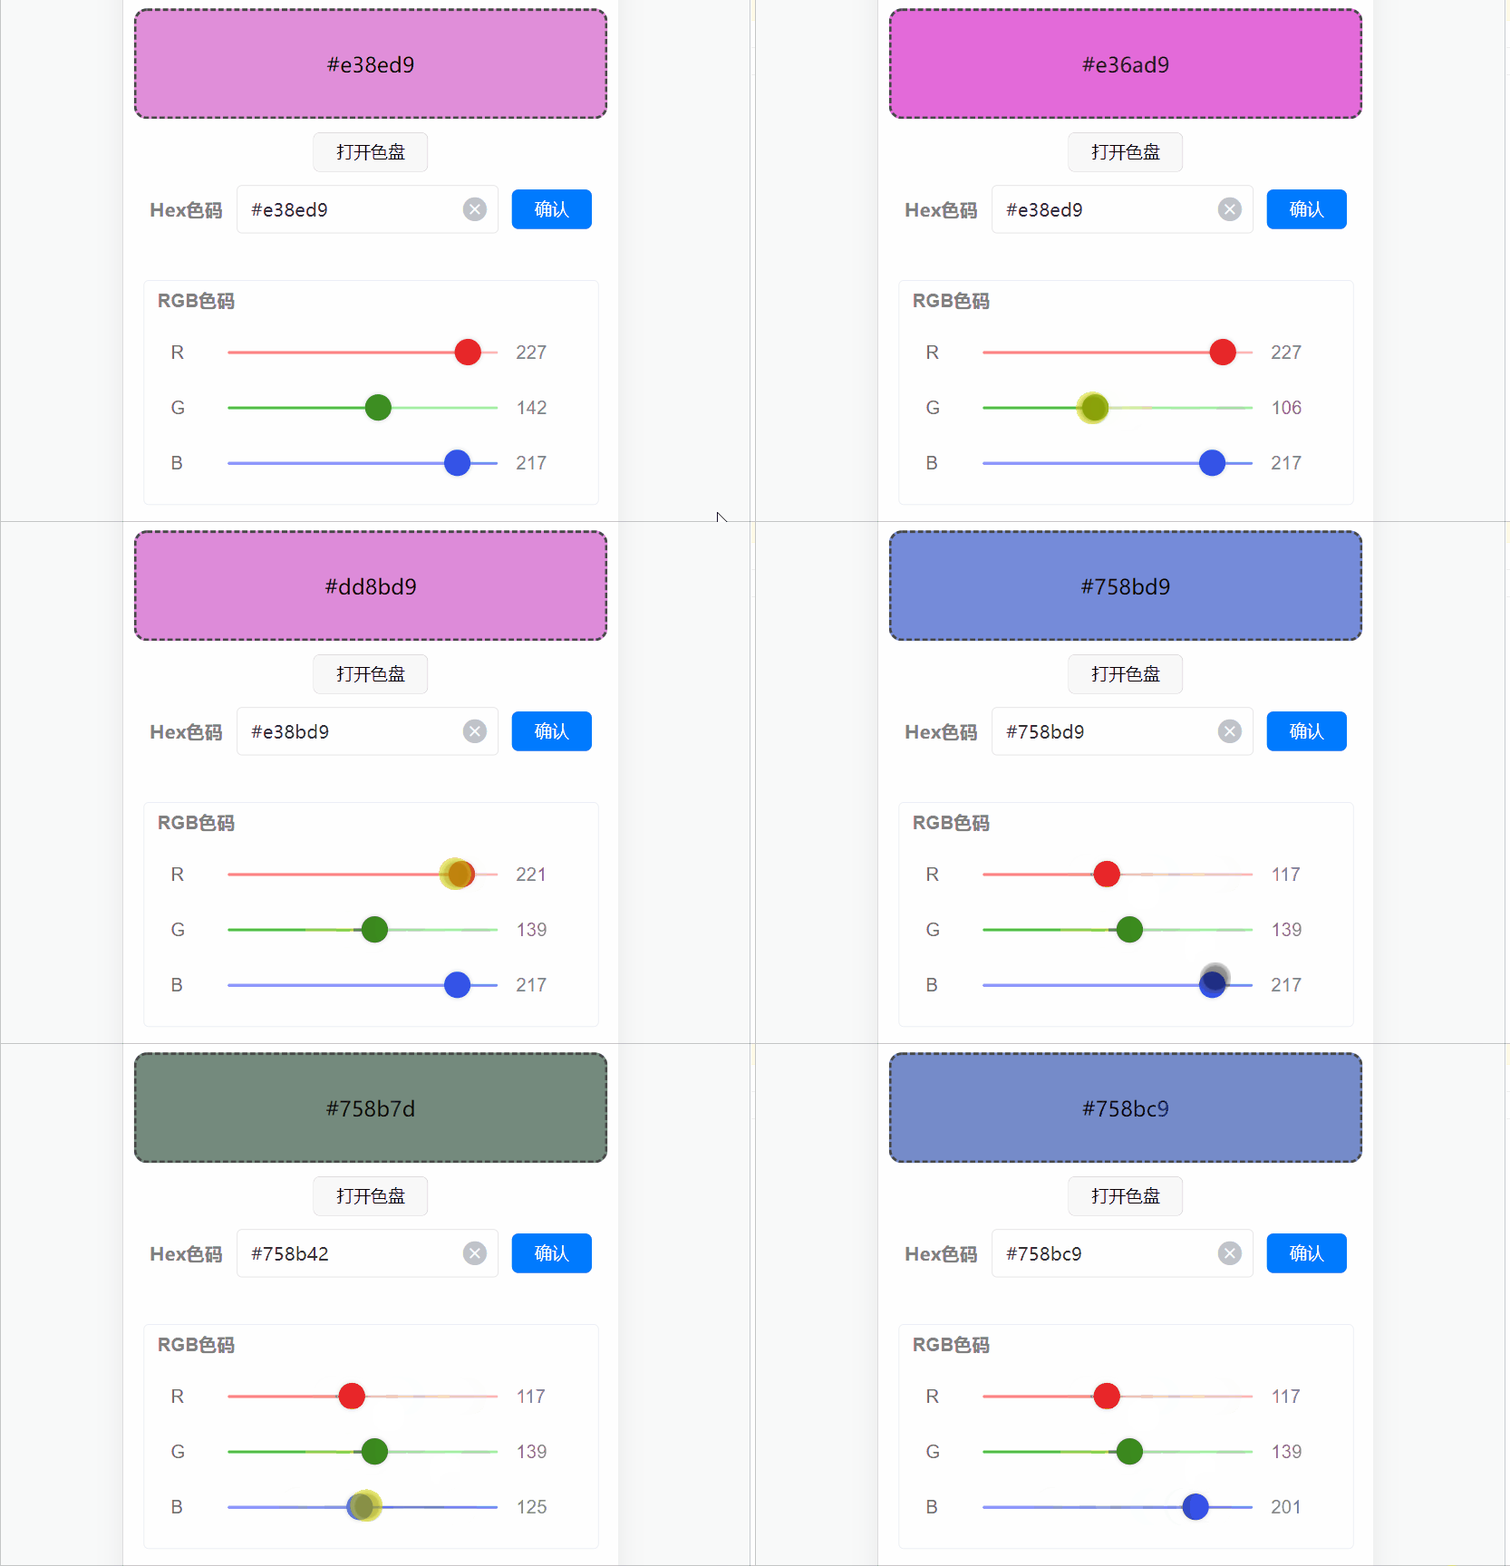
大功告成了!看看效果:
不论你是通过 Hex控件、RGB控件还是调色盘,只要颜色发生变化,所有对应位置的数据都会同步更新。
完整功能同时小巧精悍,不错吧。
结语
uniapp 非常聪明的一点是,它没有自己造一个语言或框架,而是将 Vue 作为其底层,依附 Vue 成熟的生态和社区,使得开发者的上手门槛非常平滑;遇到问题时,百度一大把解决方案。由于 Vue 的创始人是个中国人,因此其拥有优秀的中文文档,任何人都可以很顺畅的从 Vue 官方的教程入手。
ok,下一章让我们继续扩展小程序的功能。
参考资料
Github示例代码: https://github.com/stacklens/chameleon-tutorial


文章评论