(点击上方公众号,可快速关注)
作者:伯乐在线专栏作者 - ascoders
链接:http://web.jobbole.com/87955/
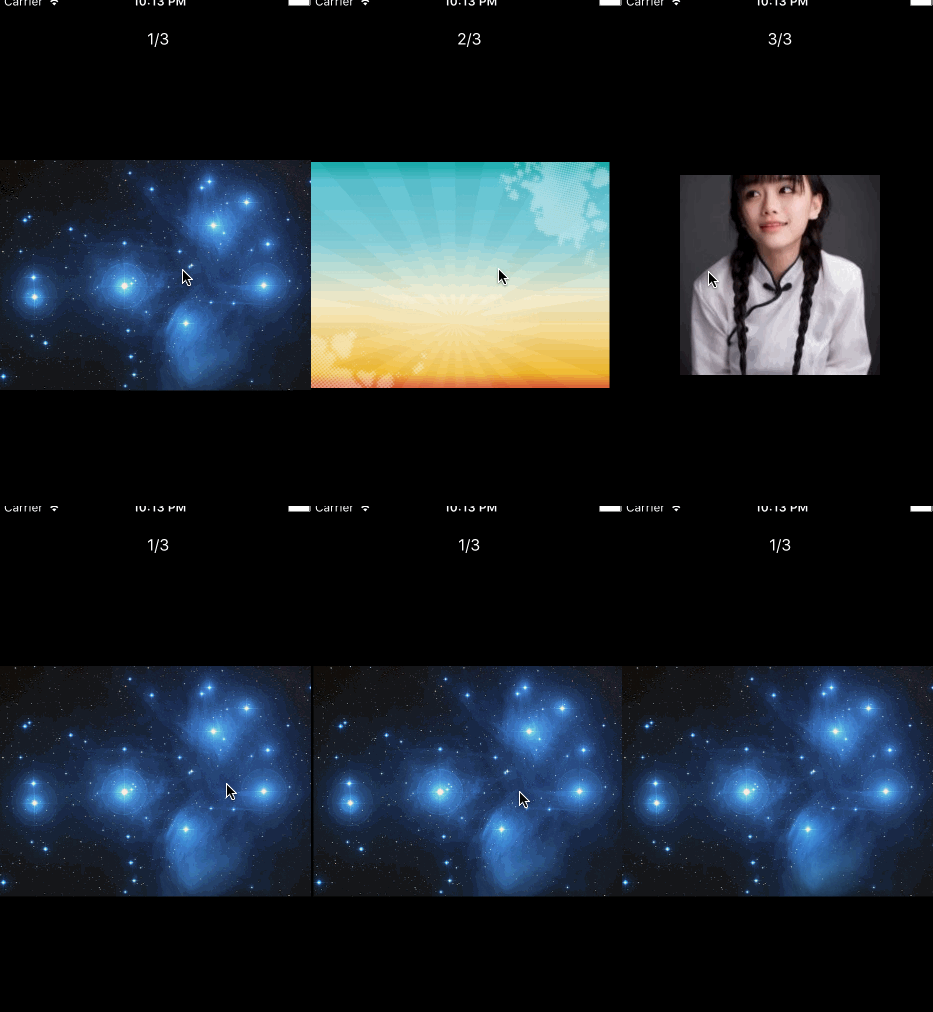
支持通用的手势缩放,手势跟随,多图翻页
手势系统

通过 PanResponder.create 创建手势响应者,分别在 onPanResponderMove 与 onPanResponderRelease 阶段进行处理实现上述功能。
手势阶段
大体介绍整体设计,在每个手势阶段需要做哪些事。
开始
onPanResponderGrant
// 开始手势操作
this.lastPositionX = null
this.lastPositionY = null
this.zoomLastDistance = null
this.lastTouchStartTime = new Date().getTime()
开始时非常简单,初始化上一次的唯一、缩放距离、触摸时间,这些中间量分别会在计算增量位移、增量缩放、用户松手意图时使用。
移动
onPanResponderMove
if (evt.nativeEvent.changedTouches.length <= 1) {
// 单指移动 or 翻页
} else {
// 双指缩放
}
在移动中,先根据手指数量区分用户操作意图。
当单个手指时,可能是移动或者翻页
先记录增量位移:
// x 位移
let diffX = gestureState.dx - this.lastPositionX
if (this.lastPositionX === null) {
diffX = 0
}
// y 位移
let diffY = gestureState.dy - this.lastPositionY
if (this.lastPositionY === null) {
diffY = 0
}
// 保留这一次位移作为下次的上一次位移
this.lastPositionX = gestureState.dx
this.lastPositionY = gestureState.dy
获得了位移距离后,我们先不要移动图片,因为横向操作如果溢出了屏幕边界,我们要触发图片切换(如果滑动方向还有图),此时不能再增加图片的偏移量,而是要将其偏移量记录下来存储到溢出量,当这个溢出量没有用完时,只滑动整体容器,不移动图片,用完时再移动图片,就可以将移动图片与整体滑动连贯起来了。
// diffX > 0 表示手往右滑,图往左移动,反之同理
// horizontalWholeOuterCounter > 0 表示溢出在左侧,反之在右侧,绝对值越大溢出越多
if (this.props.imageWidth * this.scale > this.props.cropWidth) { // 如果图片宽度大图盒子宽度, 可以横向拖拽
// 没有溢出偏移量或者这次位移完全收回了偏移量才能拖拽
if (this.horizontalWholeOuterCounter > 0) { // 溢出在右侧
if (diffX < 0) { // 从右侧收紧
if (this.horizontalWholeOuterCounter > Math.abs(diffX)) {
// 偏移量还没有用完
this.horizontalWholeOuterCounter += diffX
diffX = 0
} else {
// 溢出量置为0,偏移量减去剩余溢出量,并且可以被拖动
diffX += this.horizontalWholeOuterCounter
this.horizontalWholeOuterCounter = 0
this.props.horizontalOuterRangeOffset(0)
}
} else { // 向右侧扩增
this.horizontalWholeOuterCounter += diffX
}
} else if (this.horizontalWholeOuterCounter < 0) { // 溢出在左侧
if (diffX > 0) { // 从左侧收紧
if (Math.abs(this.horizontalWholeOuterCounter) > diffX) {
// 偏移量还没有用完
this.horizontalWholeOuterCounter += diffX
diffX = 0
} else {
// 溢出量置为0,偏移量减去剩余溢出量,并且可以被拖动
diffX += this.horizontalWholeOuterCounter
this.horizontalWholeOuterCounter = 0
this.props.horizontalOuterRangeOffset(0)
}
} else { // 向左侧扩增
this.horizontalWholeOuterCounter += diffX
}
} else {
// 溢出偏移量为0,正常移动
}
上述代码表示在溢出时,优先计算溢出量,并且当收缩时,用增量位移抵消溢出量,最后如果还有增量位移,就可以移动图片了:
(GIF 动图超过微信限制,这里看不了了)
// 产生位移
this.positionX += diffX / this.scale
还有横向不能出现黑边,因此移动到边界时会把位移全部转换为偏移量:
// 但是横向不能出现黑边
// 横向能容忍的绝对值
const horizontalMax = (this.props.imageWidth * this.scale - this.props.cropWidth) / 2 / this.scale
if (this.positionX < -horizontalMax) { // 超越了左边临界点,还在继续向左移动
this.positionX = -horizontalMax
this.horizontalWholeOuterCounter += diffX
} else if (this.positionX > horizontalMax) { // 超越了右侧临界点,还在继续向右移动
this.positionX = horizontalMax
this.horizontalWholeOuterCounter += diffX
}
this.animatedPositionX.setValue(this.positionX)
PS:如果图片长宽没有超过外部容器大小,那么所有位移都算做溢出量,也就是图片不能被移动,所有移动都会当做在切换图片:
// 不能横向拖拽,全部算做溢出偏移量
this.horizontalWholeOuterCounter += diffX
我们在溢出量不为0的时候,执行切换图片的逻辑即可,由于本文主要介绍手势操作,切换图片的逻辑不再细说。最后再给Y轴限定低于盒子高度不能纵向移动:
if (this.props.imageHeight * this.scale > this.props.cropHeight) {
// 如果图片高度大图盒子高度, 可以纵向拖拽
this.positionY += diffY / this.scale
this.animatedPositionY.setValue(this.positionY)
}
当两个手指时,希望缩放
(GIF 动图超过微信限制,这里看不了了)
先找到两手位置中 minX minY maxX maxY,由此计算缩放距离:
const widthDistance = maxX - minX
const heightDistance = maxY - minY
const diagonalDistance = Math.sqrt(widthDistance * widthDistance + heightDistance * heightDistance)
this.zoomCurrentDistance = Number(diagonalDistance.toFixed(1))
开始缩放:
let distanceDiff = (this.zoomCurrentDistance - this.zoomLastDistance) / 400
let zoom = this.scale + distanceDiff
if (zoom < 0.6) {
zoom = 0.6
}
if (zoom > 10) {
zoom = 10
}
// 记录之前缩放比例
const beforeScale = this.scale
// 开始缩放
this.scale = zoom
this.animatedScale.setValue(this.scale)
此时需要注意的时,我们还要以双手中心点为固定点,保持这个点在屏幕的相对位置不变,这样才能放大到用户想看的部分,我们需要对图片进行位移:
// 图片要慢慢往两个手指的中心点移动
// 缩放 diff
const diffScale = this.scale - beforeScale
// 找到两手中心点距离页面中心的位移
const centerDiffX = (evt.nativeEvent.changedTouches[0].pageX + evt.nativeEvent.changedTouches[1].pageX) / 2 - this.props.cropWidth / 2
const centerDiffY = (evt.nativeEvent.changedTouches[0].pageY + evt.nativeEvent.changedTouches[1].pageY) / 2 - this.props.cropHeight / 2
// 移动位置
this.positionX -= centerDiffX * diffScale
this.positionY -= centerDiffY * diffScale
this.animatedPositionX.setValue(this.positionX)
this.animatedPositionY.setValue(this.positionY)
其实是计算了这次的缩放增量,再计算出双手中心点距离屏幕正中心的距离,用这个距离乘以缩放增量就是这次缩放造成的中心点位移值,我们再反向移动这个位移抵消掉,就会产生这个点的相对位置不变的效果。
结束
结束时主要做一些重置操作,和判断是否翻到下一页或者关闭看大图。比如图片被移出边界需要弹回来,缩放的过小需要恢复原大小。
// 手势完成,如果是单个手指、距离上次按住只有预设秒、滑动距离小于预设值,认为是退出
const stayTime = new Date().getTime() - this.lastTouchStartTime
const moveDistance = Math.sqrt(gestureState.dx * gestureState.dx + gestureState.dy * gestureState.dy)
if (evt.nativeEvent.changedTouches.length <= 1 && stayTime < this.props.leaveStayTime && moveDistance < this.props.leaveDistance) {
this.props.onCancle()
return
} else {
this.props.responderRelease(gestureState.vx)
}
当单手指结束,并且移动距离小于某个值,并且移动时间过短,就会认为是退出,否则手势结束,再判断是否要切换图片,切换图片部分不再展开说明,下面罗列出结束时需要注意重置的要点,粗看即可:
if (this.scale < 1) {
// 如果缩放小于1,强制重置为 1
this.scale = 1
Animated.timing(this.animatedScale, {
toValue: this.scale,
duration: 100,
}).start()
}
if (this.props.imageWidth * this.scale <= this.props.cropWidth) {
// 如果图片宽度小于盒子宽度,横向位置重置
this.positionX = 0
Animated.timing(this.animatedPositionX, {
toValue: this.positionX,
duration: 100,
}).start()
}
if (this.props.imageHeight * this.scale <= this.props.cropHeight) {
// 如果图片高度小于盒子高度,纵向位置重置
this.positionY = 0
Animated.timing(this.animatedPositionY, {
toValue: this.positionY,
duration: 100,
}).start()
}
// 横向肯定不会超出范围,由拖拽时控制
// 如果图片高度大于盒子高度,纵向不能出现黑边
if (this.props.imageHeight * this.scale > this.props.cropHeight) {
// 纵向能容忍的绝对值
const verticalMax = (this.props.imageHeight * this.scale - this.props.cropHeight) / 2 / this.scale
if (this.positionY < -verticalMax) {
this.positionY = -verticalMax
} else if (this.positionY > verticalMax) {
this.positionY = verticalMax
}
Animated.timing(this.animatedPositionY, {
toValue: this.positionY,
duration: 100,
}).start()
}
// 拖拽正常结束后,如果没有缩放,直接回到0,0点
if (this.scale === 1) {
this.positionX = 0
this.positionY = 0
Animated.timing(this.animatedPositionX, {
toValue: this.positionX,
duration: 100,
}).start()
Animated.timing(this.animatedPositionY, {
toValue: this.positionY,
duration: 100,
}).start()
}
如果结束时速度超过某个阈值,也要切换图片,这个判断就很方便了:
if (gestureState.vx > 0.7) {
// 上一张
this.goBack.call(this)
} else if (gestureState.vx < -0.7) {
// 下一张
this.goNext.call(this)
}
// 水平溢出量置空
this.horizontalWholeOuterCounter = 0
最后重置水平溢出量,完成整套手势操作,可以进行周而复始的循环了。
一种实现
应大家要求,加上上述理论实现的代码仓库地址:
https://github.com/ascoders/react-native-image-viewer
专栏作者简介 ( 点击 → 加入专栏作者 )
ascoders:前端小魔法师

打赏支持作者写出更多好文章,谢谢!
关注「前端大全」
看更多精选前端技术文章
↓↓↓

文章评论